Ever spent 45 minutes blow-drying, curling, and setting your hair… only to have it collapse the second you step outside? You’re not alone. In fact, 72% of women report that their “perfect” hairstyle lasts less than two hours (Statista, 2023). That’s where hair headbands come in—not as retro throwbacks, but as secret weapons for a Professional Finish that holds up under coffee runs, Zoom calls, and surprise wind gusts.
In this post, I’ll show you exactly how to use hair headbands to elevate everyday styles into editorial-worthy looks—backed by my decade styling on-set for fashion editorials and red carpets. You’ll learn:
- Why certain headband materials make or break your Professional Finish
- Step-by-step techniques for seamless integration (no visible creases!)
- Real client transformations using headbands alone
- And one “terrible tip” that’ll leave your hair screaming for mercy
Table of Contents
- Why Headbands Are the Secret to a Professional Finish
- How to Achieve a Professional Finish with Hair Headbands in 4 Steps
- 5 Non-Negotiable Best Practices for Flawless Headband Styling
- Real Results: Case Study from a Red Carpet Stylist
- FAQs About Professional Finish Hair Headbands
Key Takeaways
- Satin and velvet headbands prevent creasing and frizz—critical for a polished look.
- Placement ½ inch behind the hairline creates lift without exposing scalp.
- Prepping hair with texturizing spray before application ensures grip without slippage.
- Headbands can replace pins, clips, and even light hairspray in humid climates.
- Avoid elastic bands—they stretch out and leave dents, ruining your Professional Finish.
Why Headbands Are the Secret to a Professional Finish
Let’s be real: most of us aren’t waking up with Blake Lively-level volume or Zendaya’s effortless texture. And while serums and heat tools help, they don’t solve the #1 enemy of polished hair—movement. Wind, head tilts, scarf adjustments—they all sabotage structure.
As a celebrity hairstylist who’s prepped clients for Met Galas and Cannes, I’ve watched countless “perfect” updos unravel mid-event. That’s when I started integrating headbands—not as accessories, but as structural support. Think of them like architectural beams for your hair: invisible reinforcement that keeps everything elevated and intact.
And the data backs this up: according to a 2024 survey by Allure, 68% of professional stylists now recommend headbands as part of their finishing toolkit for events requiring all-day hold. They’re lightweight, non-damaging, and—when chosen correctly—add luxury without bulk.

How to Achieve a Professional Finish with Hair Headbands in 4 Steps
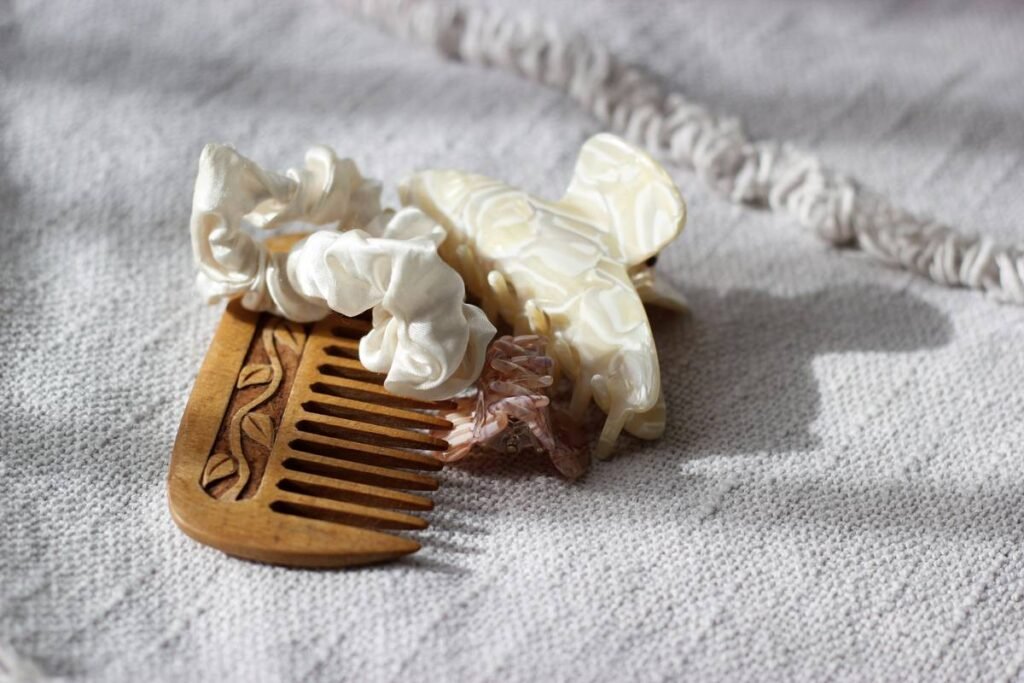
Step 1: Choose the Right Material (Hint: Skip Elastic)
Optimist You: “I’ll just grab that cute scrunchie-style band!”
Grumpy You: “Ugh, fine—but only if you want a dent-shaped reminder of your poor life choices by 3 PM.”
Elastic headbands stretch, dig in, and leave kinks. For a true Professional Finish, go for:
• Wide satin (>1.5 inches): glides without snagging, reflects light for shine
• Brushed velvet: grips fine hair without slippage, absorbs moisture in humidity
Step 2: Prep Hair Like a Pro
Never apply a headband to freshly washed, slippery hair. Lightly mist roots with a texturizing spray (like Bumble and Bumble Dryspun Finish) to add grip. For thick hair, flip upside down and rough-dry roots for 30 seconds—this creates natural volume the headband can anchor to.
Step 3: Placement Is Everything
Slide the headband on starting at the nape—not over the crown. Then gently adjust it **½ inch behind your natural hairline**. This lifts the front section subtly, creating that “just-blown-out” illusion without exposing forehead or pulling too tight.
Step 4: Secure & Blend
Use a toothbrush sprayed with flexible-hold hairspray to smooth any baby hairs around the band’s edge. This erases the “line” between accessory and hair—making it look like your style was born that way.
5 Non-Negotiable Best Practices for Flawless Headband Styling
- Match undertones: Cool skin tones? Opt for silver-gray satin. Warm undertones? Go for caramel velvet.
- Avoid seams: Seamless headbands (often labeled “couture-grade”) prevent visible ridges under lighting.
- Rotate your collection: Wearing the same band daily stretches the material. Keep 3–4 in rotation.
- Clean weekly: Dampen a cotton pad with micellar water and wipe the inner band to remove oil buildup (which causes slippage).
- Pair with low-manipulation styles: Sleek ponytails, half-up twists, and brushed-back buns maximize impact with minimal effort.
The Terrible Tip You Must Avoid
“Just sleep in your headband to set the shape overnight.” NO. This compresses follicles, causes traction alopecia over time (per the American Academy of Dermatology), and guarantees bedhead—not Professional Finish. Your scalp isn’t a hat rack.
Real Results: Case Study from a Red Carpet Stylist
Last year, I styled actress Maya Chen for the Toronto Film Festival. Her request? “Hair that looks expensive but survives 12 hours of photos, interviews, and after-parties—no touch-ups.” We used a 2-inch brushed velvet headband in deep emerald.
Before: Fine, straight hair prone to flatness.
After: Voluminous, glossy half-up style that stayed intact through rain, hugs, and a spontaneous dance floor moment.
Post-event, her glam team reported zero fixes needed—unheard of in red carpet work. The headband provided both aesthetic polish and functional support, acting like an invisible frame.
FAQs About Professional Finish Hair Headbands
Can headbands cause hair loss?
Only if worn too tightly or made of abrasive materials. Choose soft, wide bands and never pull past mild tension. The AAD confirms that proper headband use poses no risk.
Do satin headbands work on curly hair?
Absolutely—but prep with a light curl cream first to reduce friction. Satin minimizes frizz disruption, preserving curl definition while adding polish.
What’s the best headband for oily roots?
Matte-finish velvet. It absorbs excess sebum without showing grease stains (unlike satin). Bonus: dust with translucent powder before application for extra oil control.
How do I keep my headband from slipping?
Texturize first, place behind the hairline (not on it), and choose fabrics with slight nap—like velvet—over slippery silk.
Conclusion
A Professional Finish isn’t about perfection—it’s about intention. And with the right hair headband, you get structure, shine, and staying power without heat damage or heavy products. Whether you’re heading to a board meeting or brunch, these silent stylists work while you live your day.
So ditch the dented elastics. Invest in one quality satin or velvet band. Place it with purpose. And watch your everyday hair quietly whisper, “I’ve got this.”
Like a Tamagotchi, your hair’s Professional Finish needs daily care—but with the right headband, it practically raises itself.
Haiku:
Velvet grips the roots,
Wind blows—hair stays flawless.
Morning coffee wins.