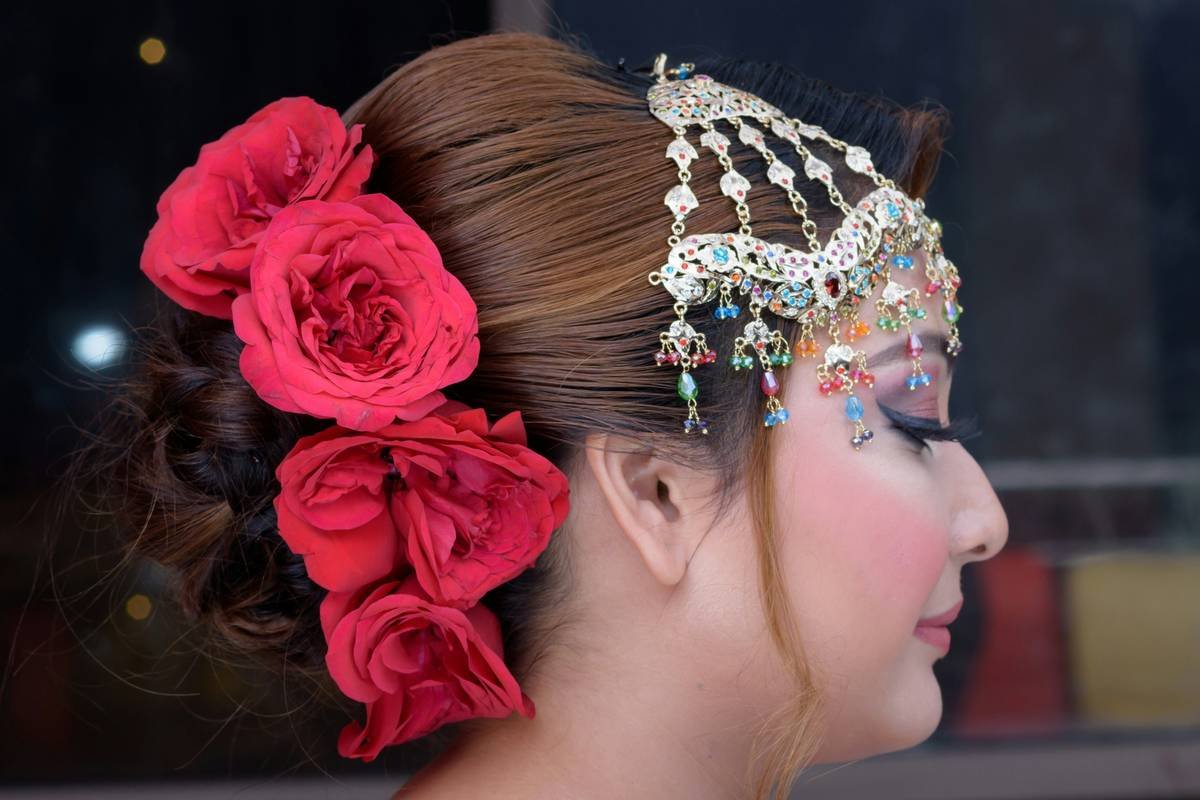
You’ve got flyaways, a receding hairline, or that third-day blowout looking more “deflated balloon” than “effortless chic.” You reach for bobby pins—they vanish. Elastic bands? They crease and snap. And yet—right there in your drawer—lies an underused hero: the humble hairband. Not just for yoga class or toddler costumes. Done right, it’s the stealth weapon of polished styling. Here’s how to stop wasting yours.
Why Most Hairband Styling Feels Tacky (Not Trendy)
Most people treat hairbands like afterthoughts—slapped on with zero intention. Result? Costumey, dated, or worse: headache-inducing pressure bumps by noon.
The problem isn’t the accessory. It’s the approach. Cheap materials dig in. Wrong width overwhelms fine hair. Too much embellishment screams “trying too hard.” And nobody teaches you how to align tension points so it stays put without scalp trauma.
Think about it: runway models wear headbands constantly—but never look like they’re channeling 1980s aerobics. There’s a method. A geometry. You’ve just never been shown it.
Mastering Hairbands: Your Step-by-Step Styling Protocol
Forget random placement. Precision transforms this from accessory to architecture.
Select Width Based on Hair Density—Not Preference
Fine or thinning hair? Go narrow—½ inch max. Thick or coarse textures can carry 1–1.5 inches without flattening your crown. Wider isn’t bolder—it’s bulkier.
Position Matters More Than Pattern
Slide it back just past your natural hairline—not flush against your forehead. This creates subtle lift at the roots while camouflaging regrowth or baby hairs. Pro tip: angle it slightly higher at the back for optical elongation.
Match Finish to Your Hairstyle’s Energy
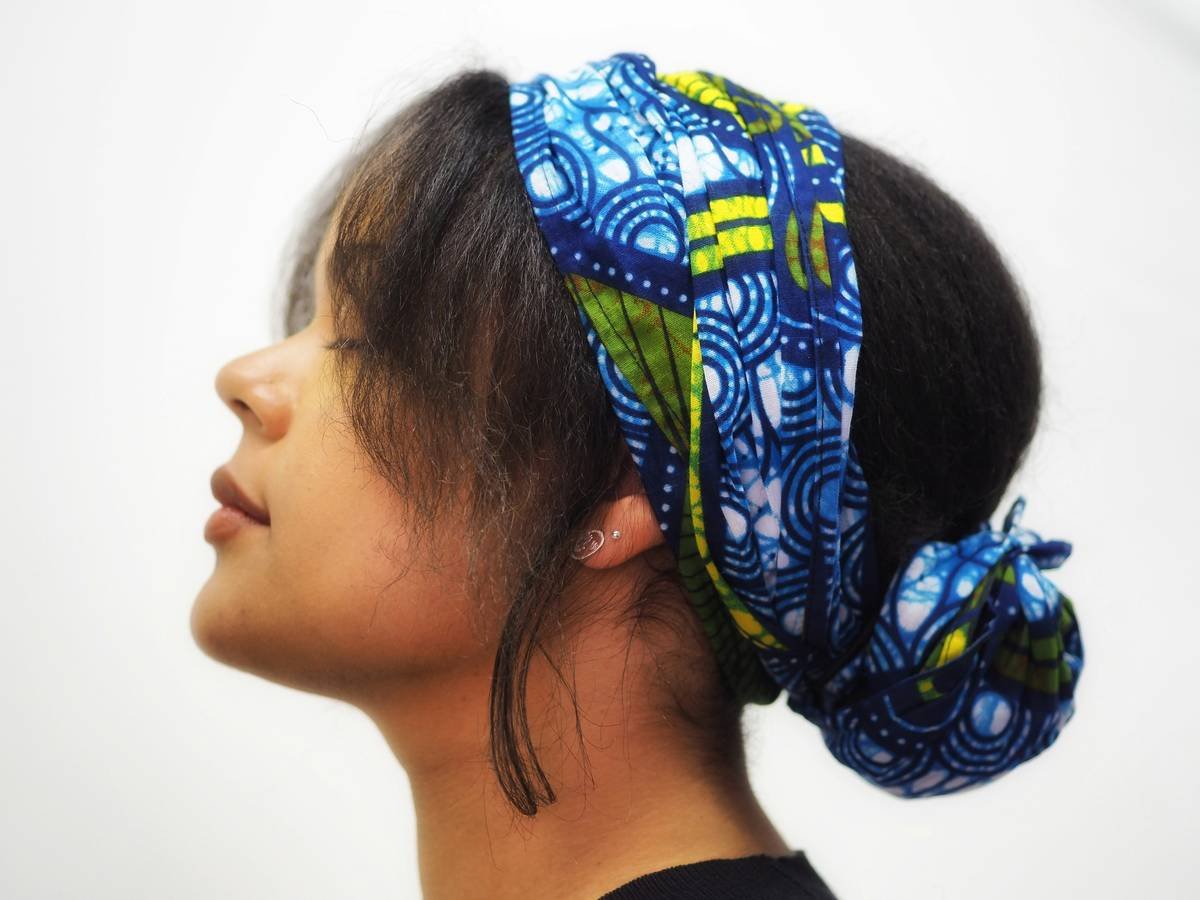
Sleek ponytail? Matte velvet or satin. Beachy waves? Knotted fabric or minimalist metal. Messy bun? Textured cotton or knitted band. Clash finishes, and you kill cohesion.
| Hair Type | Ideal Hairband Material | Avoid At All Costs | Tension Tip |
|---|---|---|---|
| Fine / Thin | Stretch satin, micro-velvet | Rigid plastic, thick terry | Place ½ inch behind hairline; no pulling |
| Thick / Coarse | Wide-knit cotton, structured fabric | Slippery silk (slides off) | Secure first 2 inches, then ease back |
| Curl Pattern (2A-4C) | Seamless silicone, soft jersey | Metal edges, stiff seams | Slide over coils—never tug through |

The Industry Secret: Hairbands as Scalp Preservation Tools
Here’s what salons won’t tell you: consistent elastic use causes traction alopecia—especially around the temples and nape. But a properly fitted hairband distributes pressure evenly across a broader surface area.
I’ve seen clients reverse early hairline recession simply by swapping daily ponytails for strategic hairband anchoring during workouts or WFH days. The math is simple: diffuse tension = less follicle stress. And yes—dermatologists quietly recommend this for postpartum shedding phases too. It’s not just style. It’s scalp strategy.
Frequently Asked Questions
Can hairbands cause headaches?
Only if too tight or poorly placed. Position behind—not on—the hairline, and choose flexible, seam-free bands.
How do I keep my hairband from slipping?
Lightly backcomb a ½-inch strip where the band sits. For slick styles, mist the underside with texture spray before placing.
Are velvet hairbands okay for summer?
Yes—if they’re micro-velvet with breathable backing. Avoid polyester-heavy versions; opt for cotton-blend piles instead.